Avantix Mobile Walkthrough
Use the procedure below to help you work with the Aventix prototype demo. You may find it helpful to have this walkthrough and the prototype open in separate tabs.
1. Start-Up
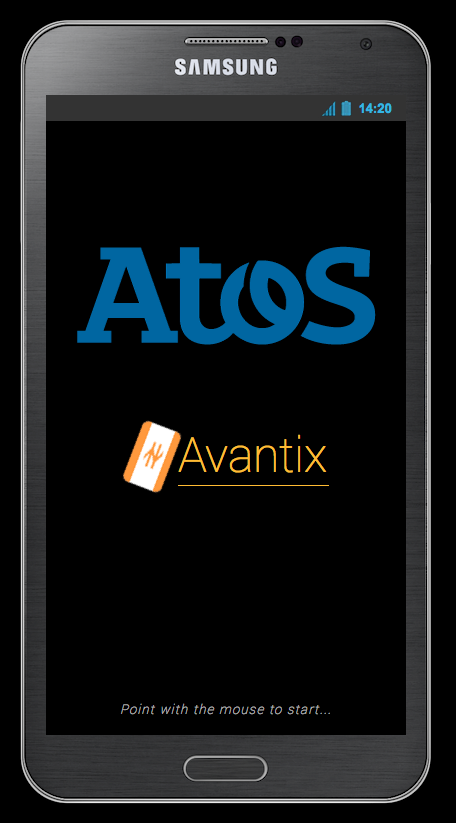
1.1. Start prototype. Hover mouse over Splash screen to display Sign In screen.
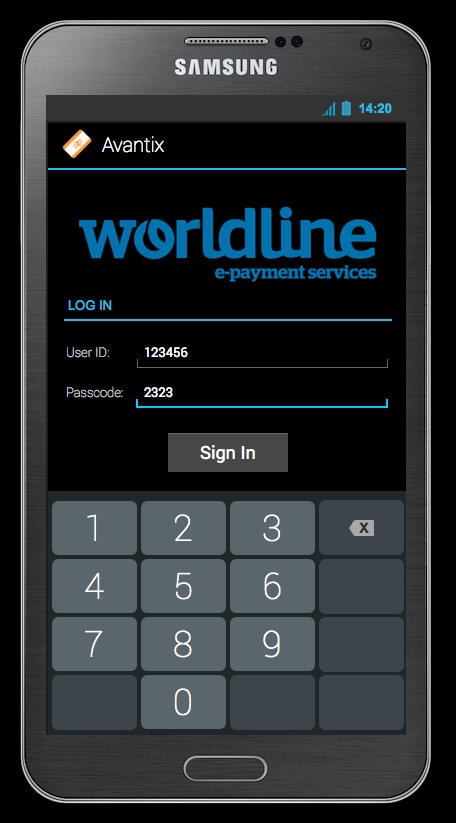
1.2. At the Sign In screen, enter anything for User ID and Passcode. When both fields have a value entered, the Sign In button is enabled:
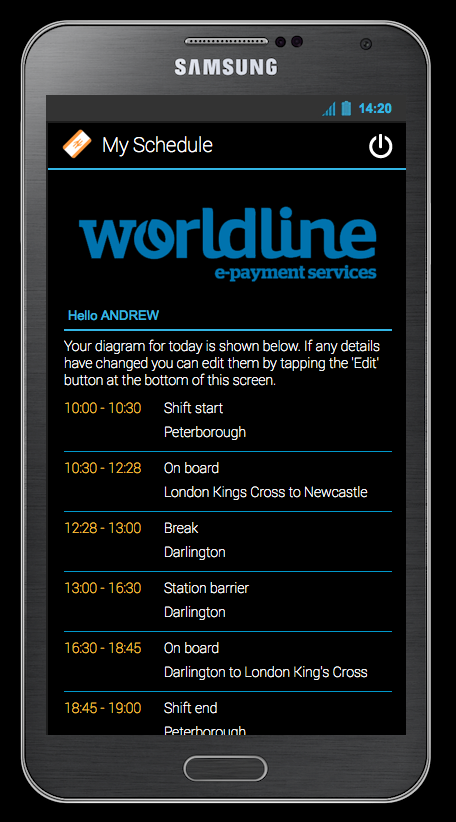
1.3. Click the Sign In button. The My Schedule screen is displayed:
1.4. Flow – Log Out:
1.4.1. At the My Schedule screen, click the Logout icon, top right. A dialog confirms sign-out:
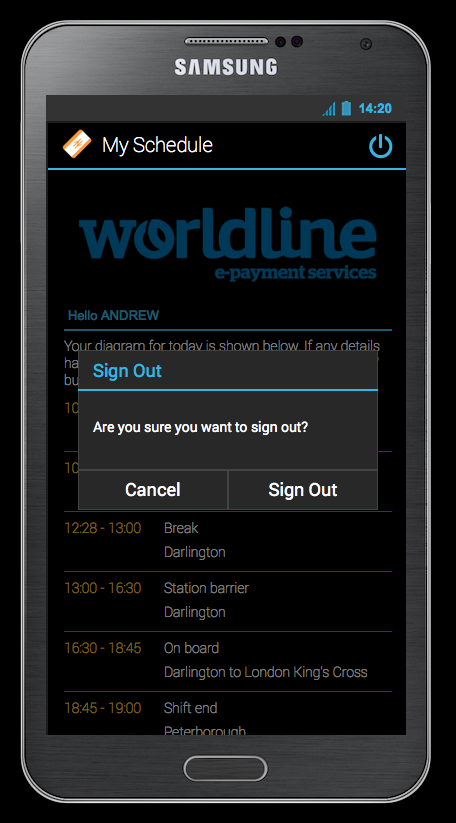
1.4.2. Logging out returns to the Sign In screen.
1.4.3. Return to the My Schedule screen:
1.5. On the My Schedule screen, click on On Board: London Kings Cross to Newcastle.
1.6. Click on the SELL button in the menu bar, top right.
2. Plan Screen
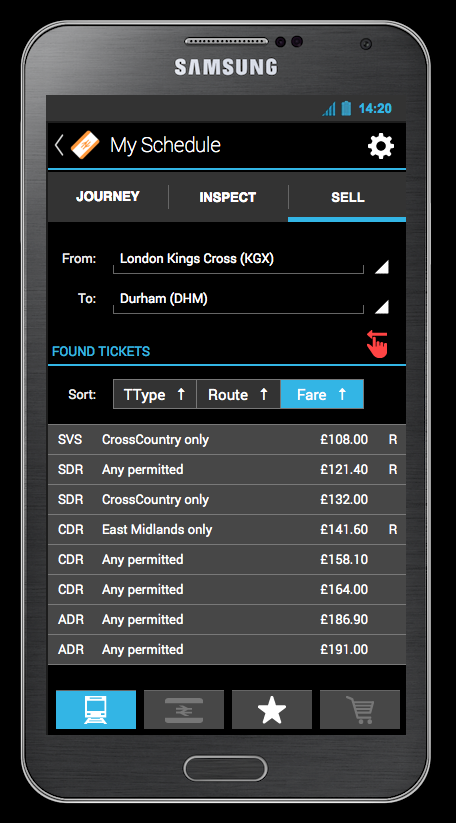
2.1. Use the drop-down lists to select any From and To stations. The Found Tickets table is displayed.
2.2. Flow – Fare Enquiry Parameters:
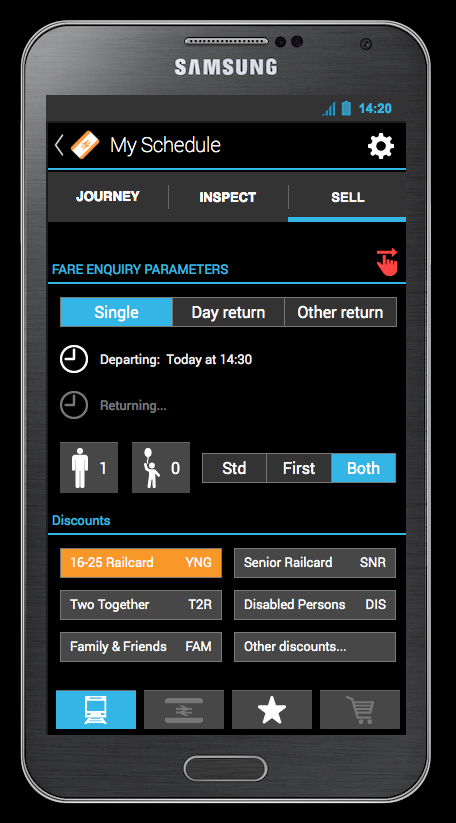
2.2.1. Hover to right of Found Tickets subheading (red swipe icon appears). Click to display Fare Enquiry Parameters screen:
2.2.2. Click on Single, Day return or Other return as the ticket type.
2.3.3. Note that the Returning option is only enabled when Other return is selected as the ticket type.
2.2.4. Click on the Adult button to increment the value. Long-click on the button to reset to zero.
2.2.5. Click on the Child button to increment the value. Long-click on the button to reset to zero.
2.2.6. Click on Std, First or Both as the ticket class filter.
2.2.7. Click, in turn, on the five railcard buttons. Note that the background colour changes when selected.
2.2.8. Click on the Other discounts button to display dialog box:
2.2.8.1. Click on the Camera icon to display scan mock-up. Click Done.
2.2.9. Click on the Other discounts button to display dialog box:
2.2.9.1. Select No discounts and click Done to clear railcard selections.
2.2.10. Hover to right of Fare Enquiry Parameters subheading (red swipe icon appears). Click to return to Plan screen:
2.3. Click on TType, Route or Fare to sort table.
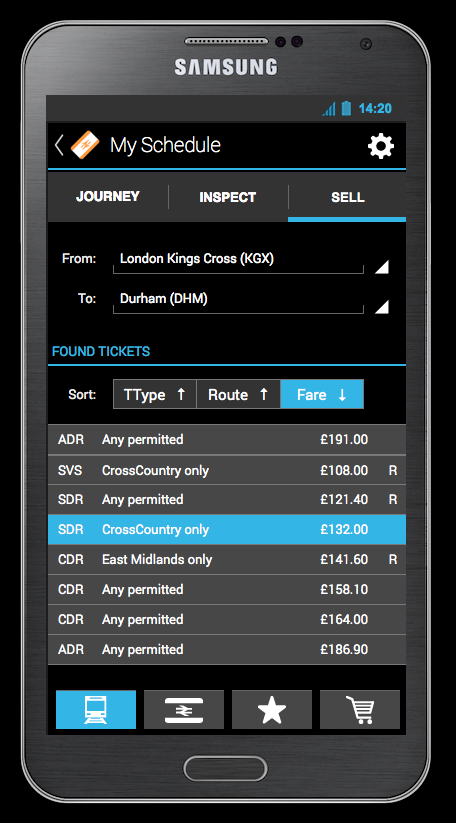
2.4. Long-click on TType, Route or Fare to sort table in reverse order.
2.5. Click on any line item in the table. Both the Ticket Details icon and the Shopping Basket icons are enabled in the action bar at the bottom of the screen:
2.6. Click on the Ticket Detail icon.
3. Ticket Detail
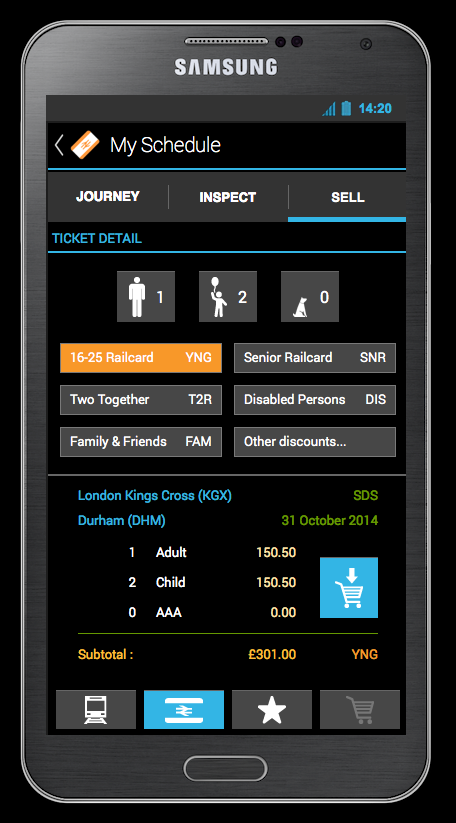
3.1. The Adult and Child buttons work in the same way as described in Step 2.2.4 and Step 2.2.5, respectively.
3.2. Click on the AAA button to increment the value. Long-click on the button to reset to zero.
3.3. The railcard buttons work as described in Step 2.2.7, above. Note that when a railcard is selected, the three-letter code appears adjacent to the Subtotal at the bottom of the screen.
3.4. Click the Add to Basket icon button. Note that the finished app would navigate to the basket, but this prototype does not, for demo purposes.
3.5. Click on the Shopping Basket icon in the action bar at the bottom of the screen.
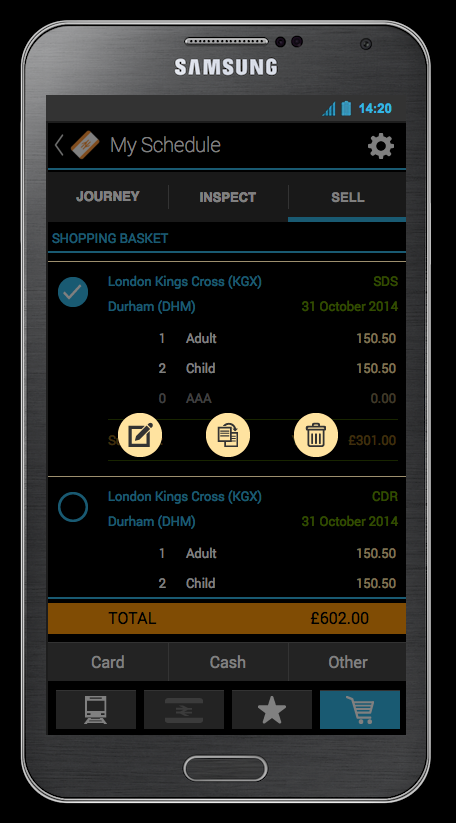
4. Shopping Basket
4.1. One ticket should be displayed by default.
4.2. Click on the Selection icon (the circle will change in hover state).
4.3. The ticket is greyed out and three calls to action are displayed. Click on the Duplicate (middle) icon). A copy of the ticket is made (there are now two in the screen):
4.3.1. Click anywhere in the greyed-out area (i.e. not one of the icons). The ticket is deselected and reverts to its former state.
4.4. Again, click on the Selection icon of the first ticket in the shopping basket. Click on the first icon (Edit).
4.5. The Ticket Detail screen is displayed. Interactions on this screen are as described above. When interactions are complete, click the Add to basket button. Note that the finished app would navigate to the basket, but this prototype does not, for demo purposes. Click on the Shopping Basket icon (lower right in the action bar at the bottom of the screen).
4.6. There are still two tickets displayed in the shopping basket (the first will reflect any changes made above).
4.7. Click on the Selection icon of the second ticket in the shopping basket. Click on the second icon (Duplicate).
4.8. There are now three tickets in the shopping basket.
4.9. Click on the Selection icon of the third ticket in the shopping basket. Click on the third icon (Delete). The ticket is removed.
4.10. There are now two tickets in the shopping basket.
4.11. Click the Cogwheel icon (top right) in the screen. A dialog box is displayed. Click Dismiss to remove the dialog box.
4.12. Long-click the Cogwheel icon in the screen. The shopping basket is emptied.
4.13. Click on the Plan icon (bottom left in the action bar).
4.14. The original screen (as in Step 2.1) is displayed.
4.15. Click on the Cogwheel icon (top right). The Plan screen is now cleared (as shown in its default state, in Step 2).
5. Alternative Flow – Favourites
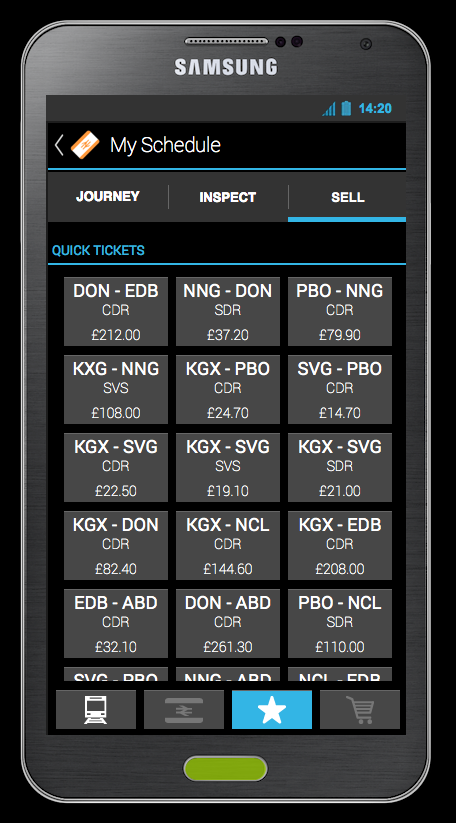
5.1. Click on the Favourites icon (the 'star' icon) in the action bar at the bottom of the screen:
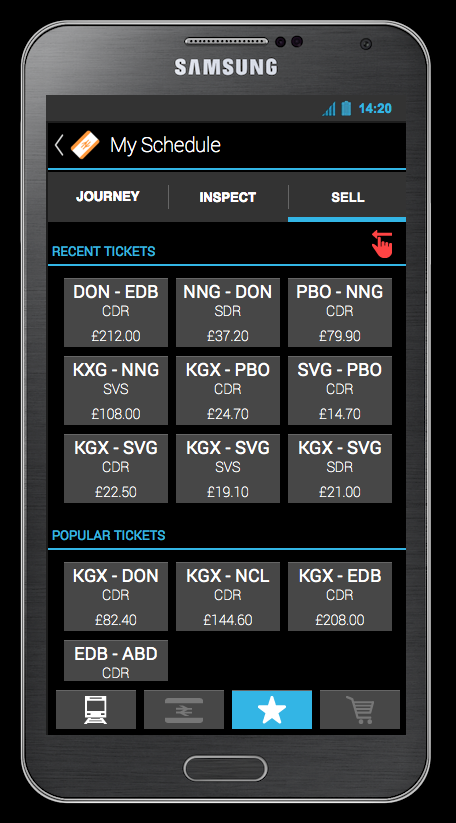
5.2. Hover to right of Recent Tickets subheading (red swipe icon appears). Click to display Quick Tickets screen:
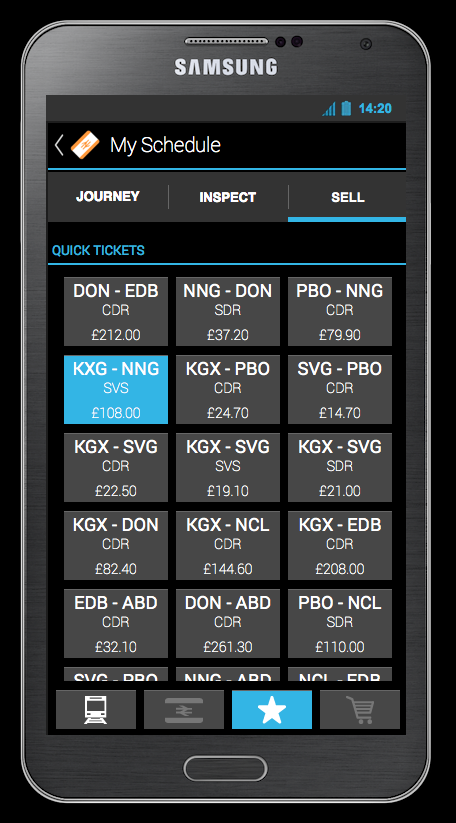
5.3. Click on any ticket and the Shopping Basket icon (bottom right in the action bar) is enabled. Click on the icon button.
5.3.1. Functionality of the shopping basket is as described in Step 4, above.
5.3.2. Click again on the Favourites icon in the action bar at the bottom of the screen.
5.4. Long-click on any ticket and then the Shopping Basket icon. The demo app automatically navigates back to the Ticket Detail screen.
5.5. Functionality of the Ticket Detail screen is as described in Step 3, above.
Restarting the Demo
At any time after the Splash screen has been displayed (1.1) the demo can be reset by clicking on the Home button of the device mock-up (it glows green when hovered):